Before I had Zoey, a breast pump was just something that I knew I’d get because it was covered under my insurance & I would need to pump when I went back to work. I never considered pumping prior to that moment or worse, having to pump after every feed when my milk supply would suddenly drop dramatically 4 weeks in. But alas…there I was.
Triple feeding is not easy. Nursing your baby, then pumping & feeding back whatever you get out, all while tending to a little one that needs constant attention and contact naps is not the recommendation (except that it was…the recommendation). The following items helped save my breastfeeding journey by enhancing my pumping experience and allowing me to be the most efficient and effective while still paying the most attention to Zoey.
I may make the world’s smallest amount of money off some of the photo links below; this is at no cost to you.
Pumpables "Genie Advanced" breast pump
I will never stop shouting from the rooftops about this portable pump as long as people will listen (or won’t listen…don’t care). Being strapped to my original massive hospital-grade pump when I was needing to keep my 4 week old company at the same time was only adding additional stress, until I panic-ordered the Pumpables Genie Advanced. While not necessarily a “portable pump” (you still use a regular flange set-up) the pump is lightweight & compact enough to wear around your neck, which allowed me to still play with my child, do dishes, fold laundry, etc. rather than being confined to a chair as hurricanes of clean and dirty clothes blew around me.
Extra pump parts
If there’s one thing I could remove from pumping, it would be having to wash the parts after every use. While there are several “hacks” out there like the fridge method, I always rotate between two sets of pump parts, and keep a third in my pump bag just in case. That way I can wash one set while using the other, and be ready to go for the next round. Having extra pump parts also comes in handy when I’m out and need to pump and don’t get home until my next session; it’s nice to have another clean set handy rather than having to quickly wash, then use, then wash again. For a cost-effective solution, I use Maymom parts rather than the Spectra parts (makes it easier on the wallet when you have to replace your pump parts).
Wet/dry bag
I’ve used this wet-dry bag since the beginning of my journey. I keep my pump in it while at work, and then pack it full of pump parts/bottles/etc if I will be traveling or needing to pump in the car. It’s perfect for storing your pump and dry parts in one section and the used pump parts in the other without having to worry about getting milk residue all over. I’ll also throw an extra bottle in if I think I’m going to be out long enough to feed Zoey another time.
Storage bottles (& caps)
If you use Dr. Brown’s bottles, you are familiar with the tiny flat blocker that all the bottles come with. You know, the thing I threw away right when we got our bottles because I had no idea what it was for? When I first went back to work and bought some empty bottles and KEPT that little guy on it, I noticed that the bottles would still leak in between work and getting home at night. I ended up buying three glass 8-ounce bottles to store milk in (one for each session at work – glass because the fat can be removed from the sides easier than in plastic bottles) and these travel caps to ensure there was no milk left behind in our journey from work to home.
Wash basin
Please don’t wash your pump parts/bottles in your sink. The amount of bacteria that builds up from dumping food/drinks down the drain only opens up the possibility of contamination to pump parts and bottles, and then to your baby. I got this $4.00 wash basin at Target and it makes washing Zoey’s stuff super easy (you could also just use your dishwasher but when you have to wash parts/bottles 8 times a day, the wash basin made the most sense).
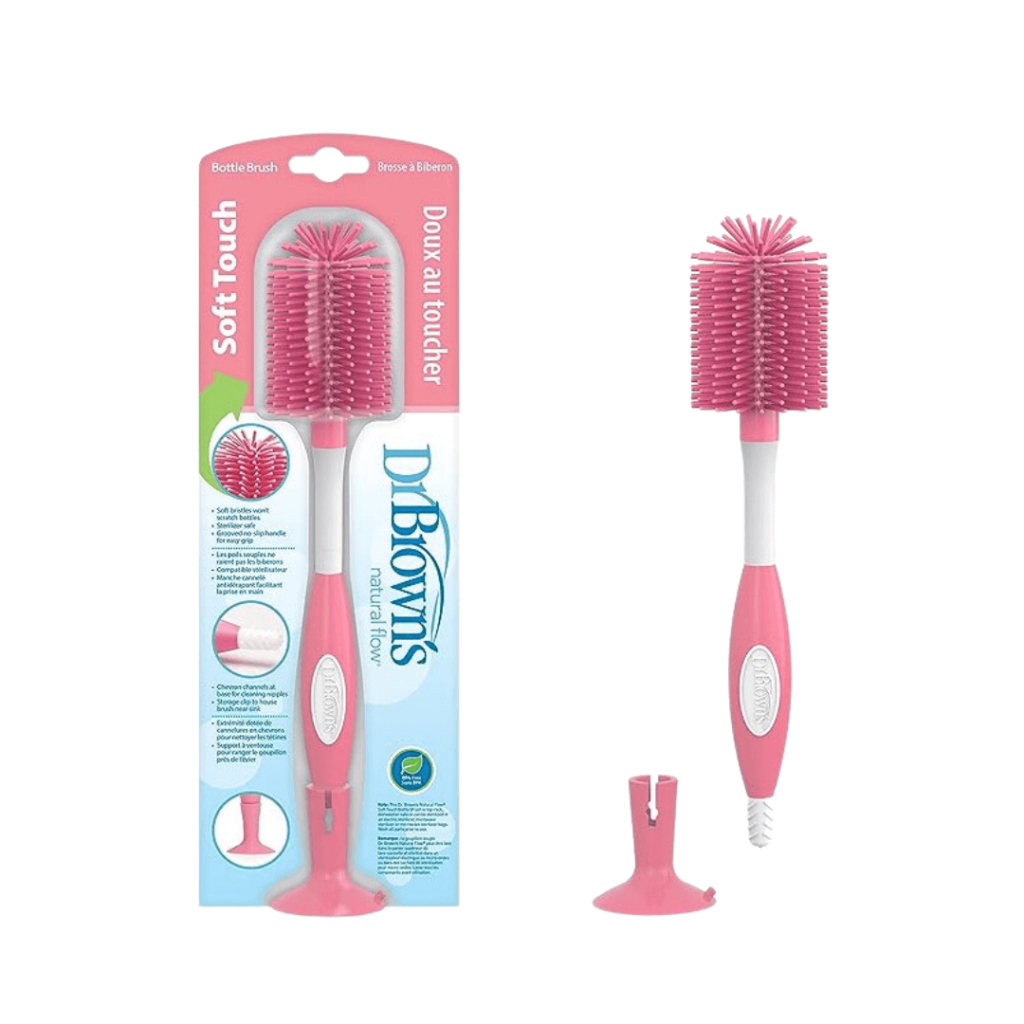
Silicone bottle brush
Really any bottle brush will work; I opted for a silicone one because it’s less likely to harbor bacteria like the sponge ones (though you can just throw those in the dishwasher obviously), but I can put it in the sterilizer rather than having to buy a new brush every month or so (as recommended by the manufacturers…can you tell I’m an anxious mom yet?) Also, the one I bought is pink.
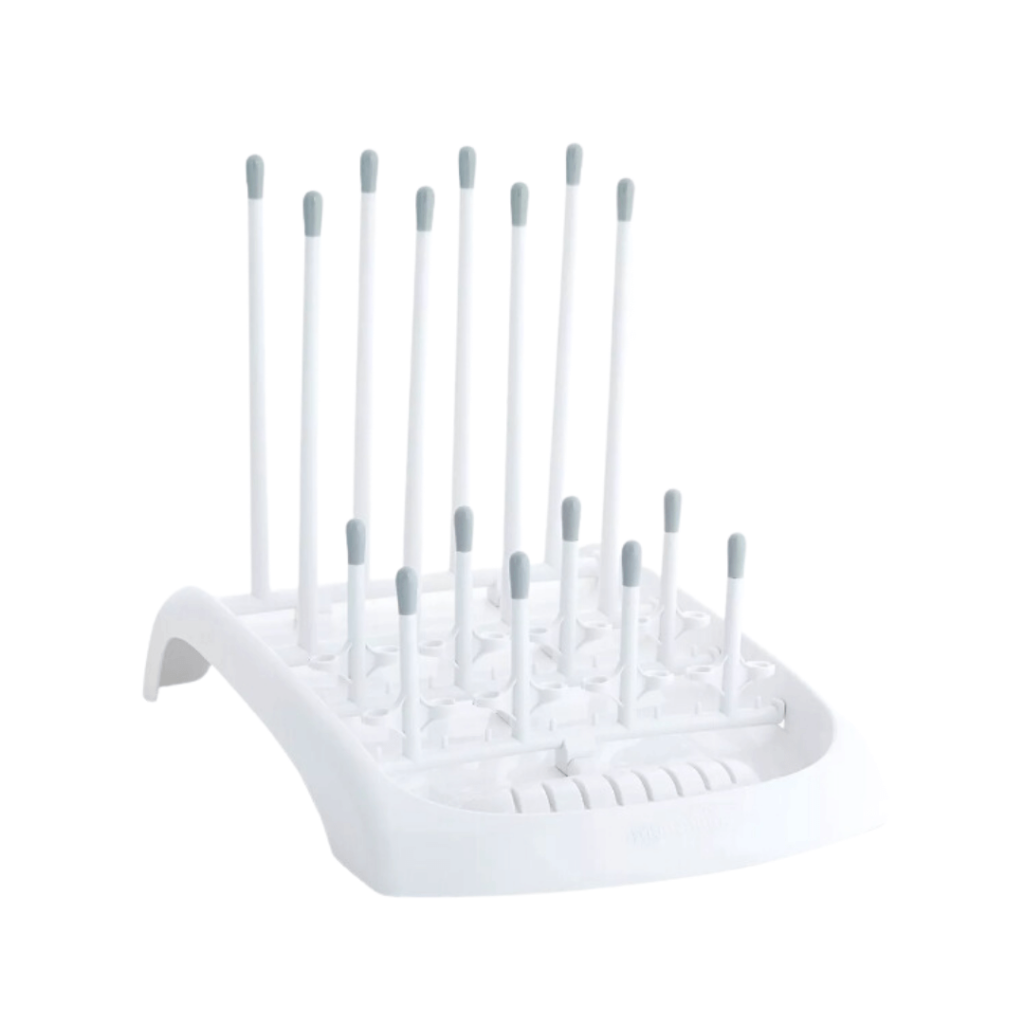
Drying rack
Pro tip my sister & I thought up when in the aisle at Target looking for a larger drying rack – just buy two of the same one. I have two of these side by side & it gives me plenty of space for drying pump parts, bottle parts, and the milk pitcher. Bonus points for being dishwasher-safe to allow for easy cleaning
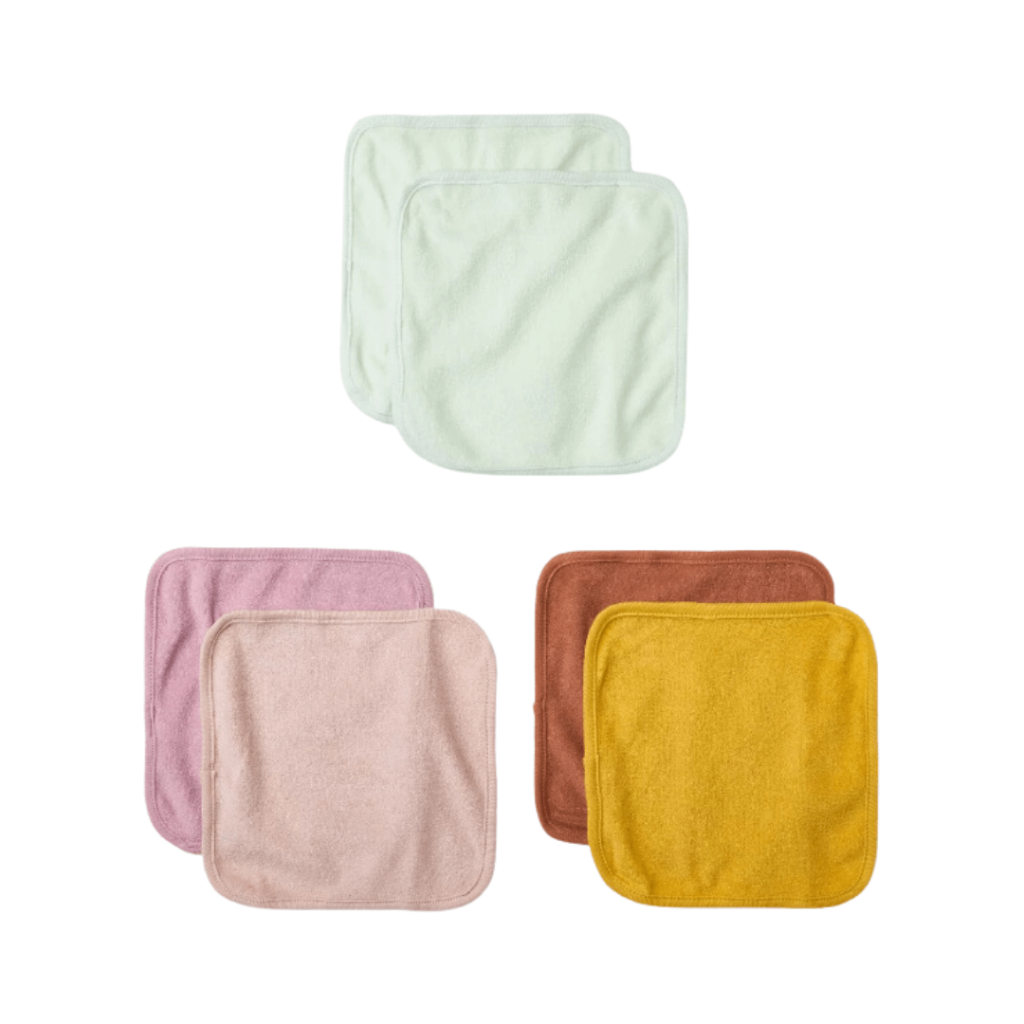
Baby washcloths
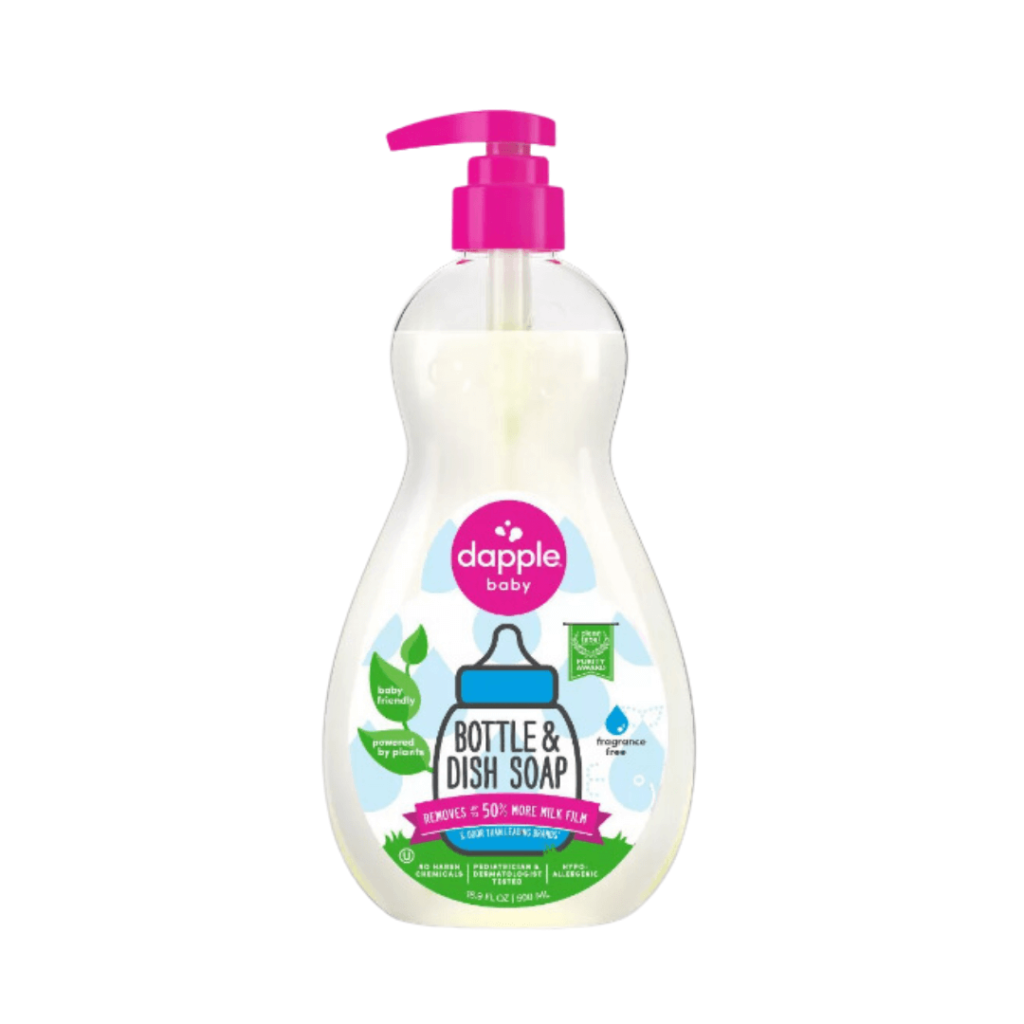
Bottle soap
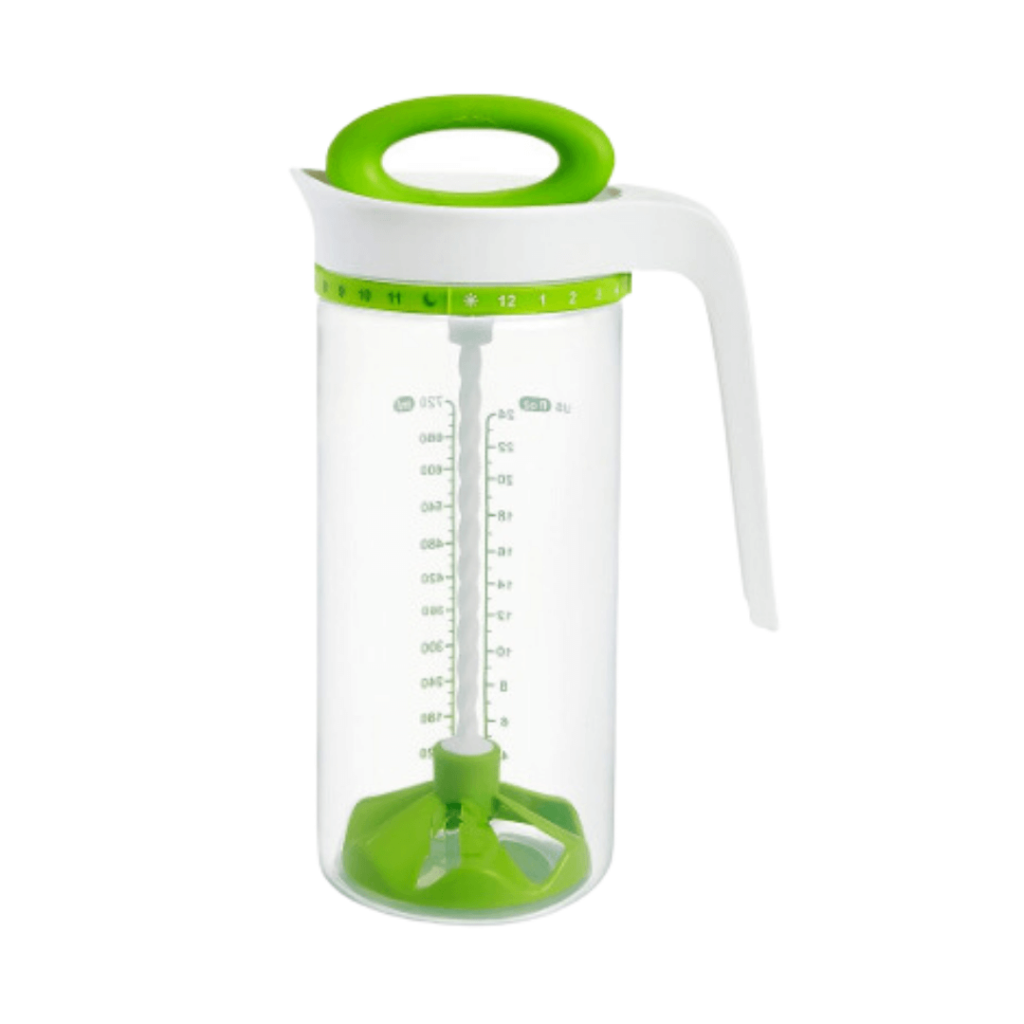
Pitcher for breast milk
The “pitcher method” for pumping is essentially cooling your milk and then pooling it all together in a pitcher to make bottle prep easier for the following day. I tried Dr. Brown’s pitcher and this one and the Munchkin pitcher won by a landslide (as a loyal Dr. Brown’s customer, I was bummed to find that their mixer was super flimsy and eventually broke off after a few weeks). I now have two of these pitchers that I alternate between day by day.
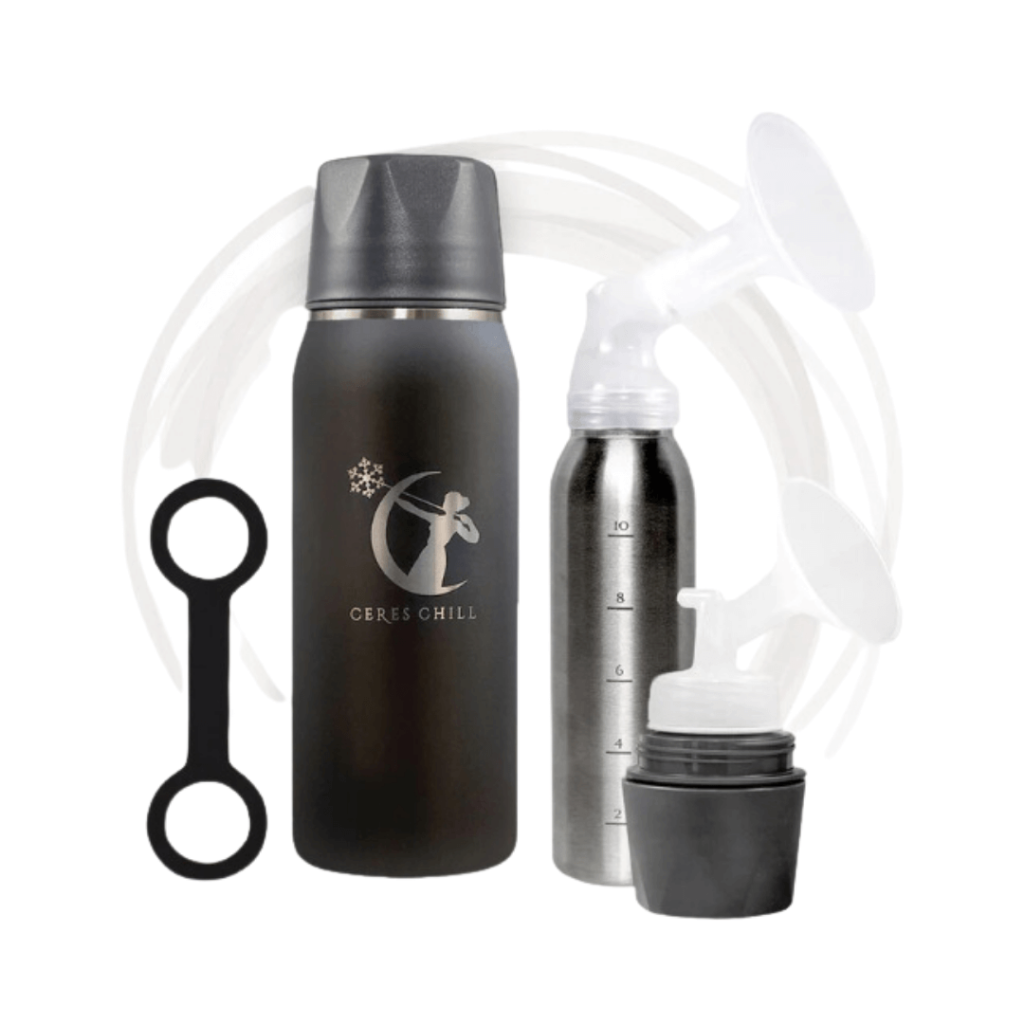
Ceres Chill
If you are pumping on the go for an extended period of time, this is it. I threw this guy in my bag for the Taylor Swift concert (has the option to hold 16 or 24 ounces, depending on your need) and it kept my milk cold throughout the entire event. Much more compact than carrying a cooler all around with you, and it’s HSA/FSA eligible =)


